Wallpaper Installation. A Step-by-Step Guide
Introduction
Wallpaper installation can transform the aesthetic of any room, bringing in new textures, colors, and patterns. Whether you’re looking to refresh your living room, bedroom, or bathroom, understanding the process of wallpaper installation is crucial. This guide will walk you through everything from preparing your walls to the final touches of installing wallpaper.
Investigate Your Wall
Before beginning your wallpaper project, it’s important to assess the condition of your walls. They can generally be categorized into three conditions:
- New Walls: These are the easiest to work with as they likely require minimal preparation.
- Walls with Slight Dust and Light Marks: These should be cleaned and primed to ensure the wallpaper adheres properly.
- Damaged or Textured Walls: These require more extensive preparation, including sanding, smoothing, and priming.
Prepare the Wall
Preparation depends on the current state of your wall:
- Painted Walls: Whether you choose peel-and-stick or traditional wallpaper, start with a clean, smooth surface.
- Textured Walls: This involves several steps:
- Sand down or fill in any texturing.
- Apply a construction compound to smooth out the surface.
- Sand the wall again to achieve a fine finish.
- Finally, apply a primer to ready the wall for wallpaper application.
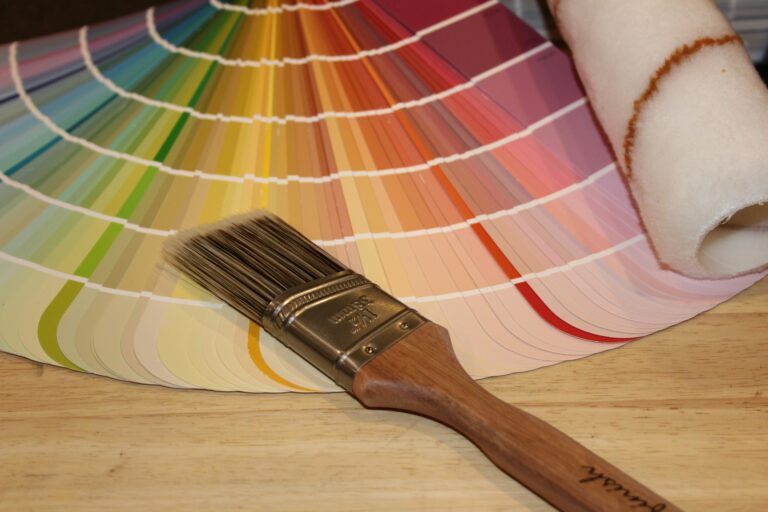
Choose the Right Wallpaper
Selecting the right wallpaper is pivotal. Consider the following types:
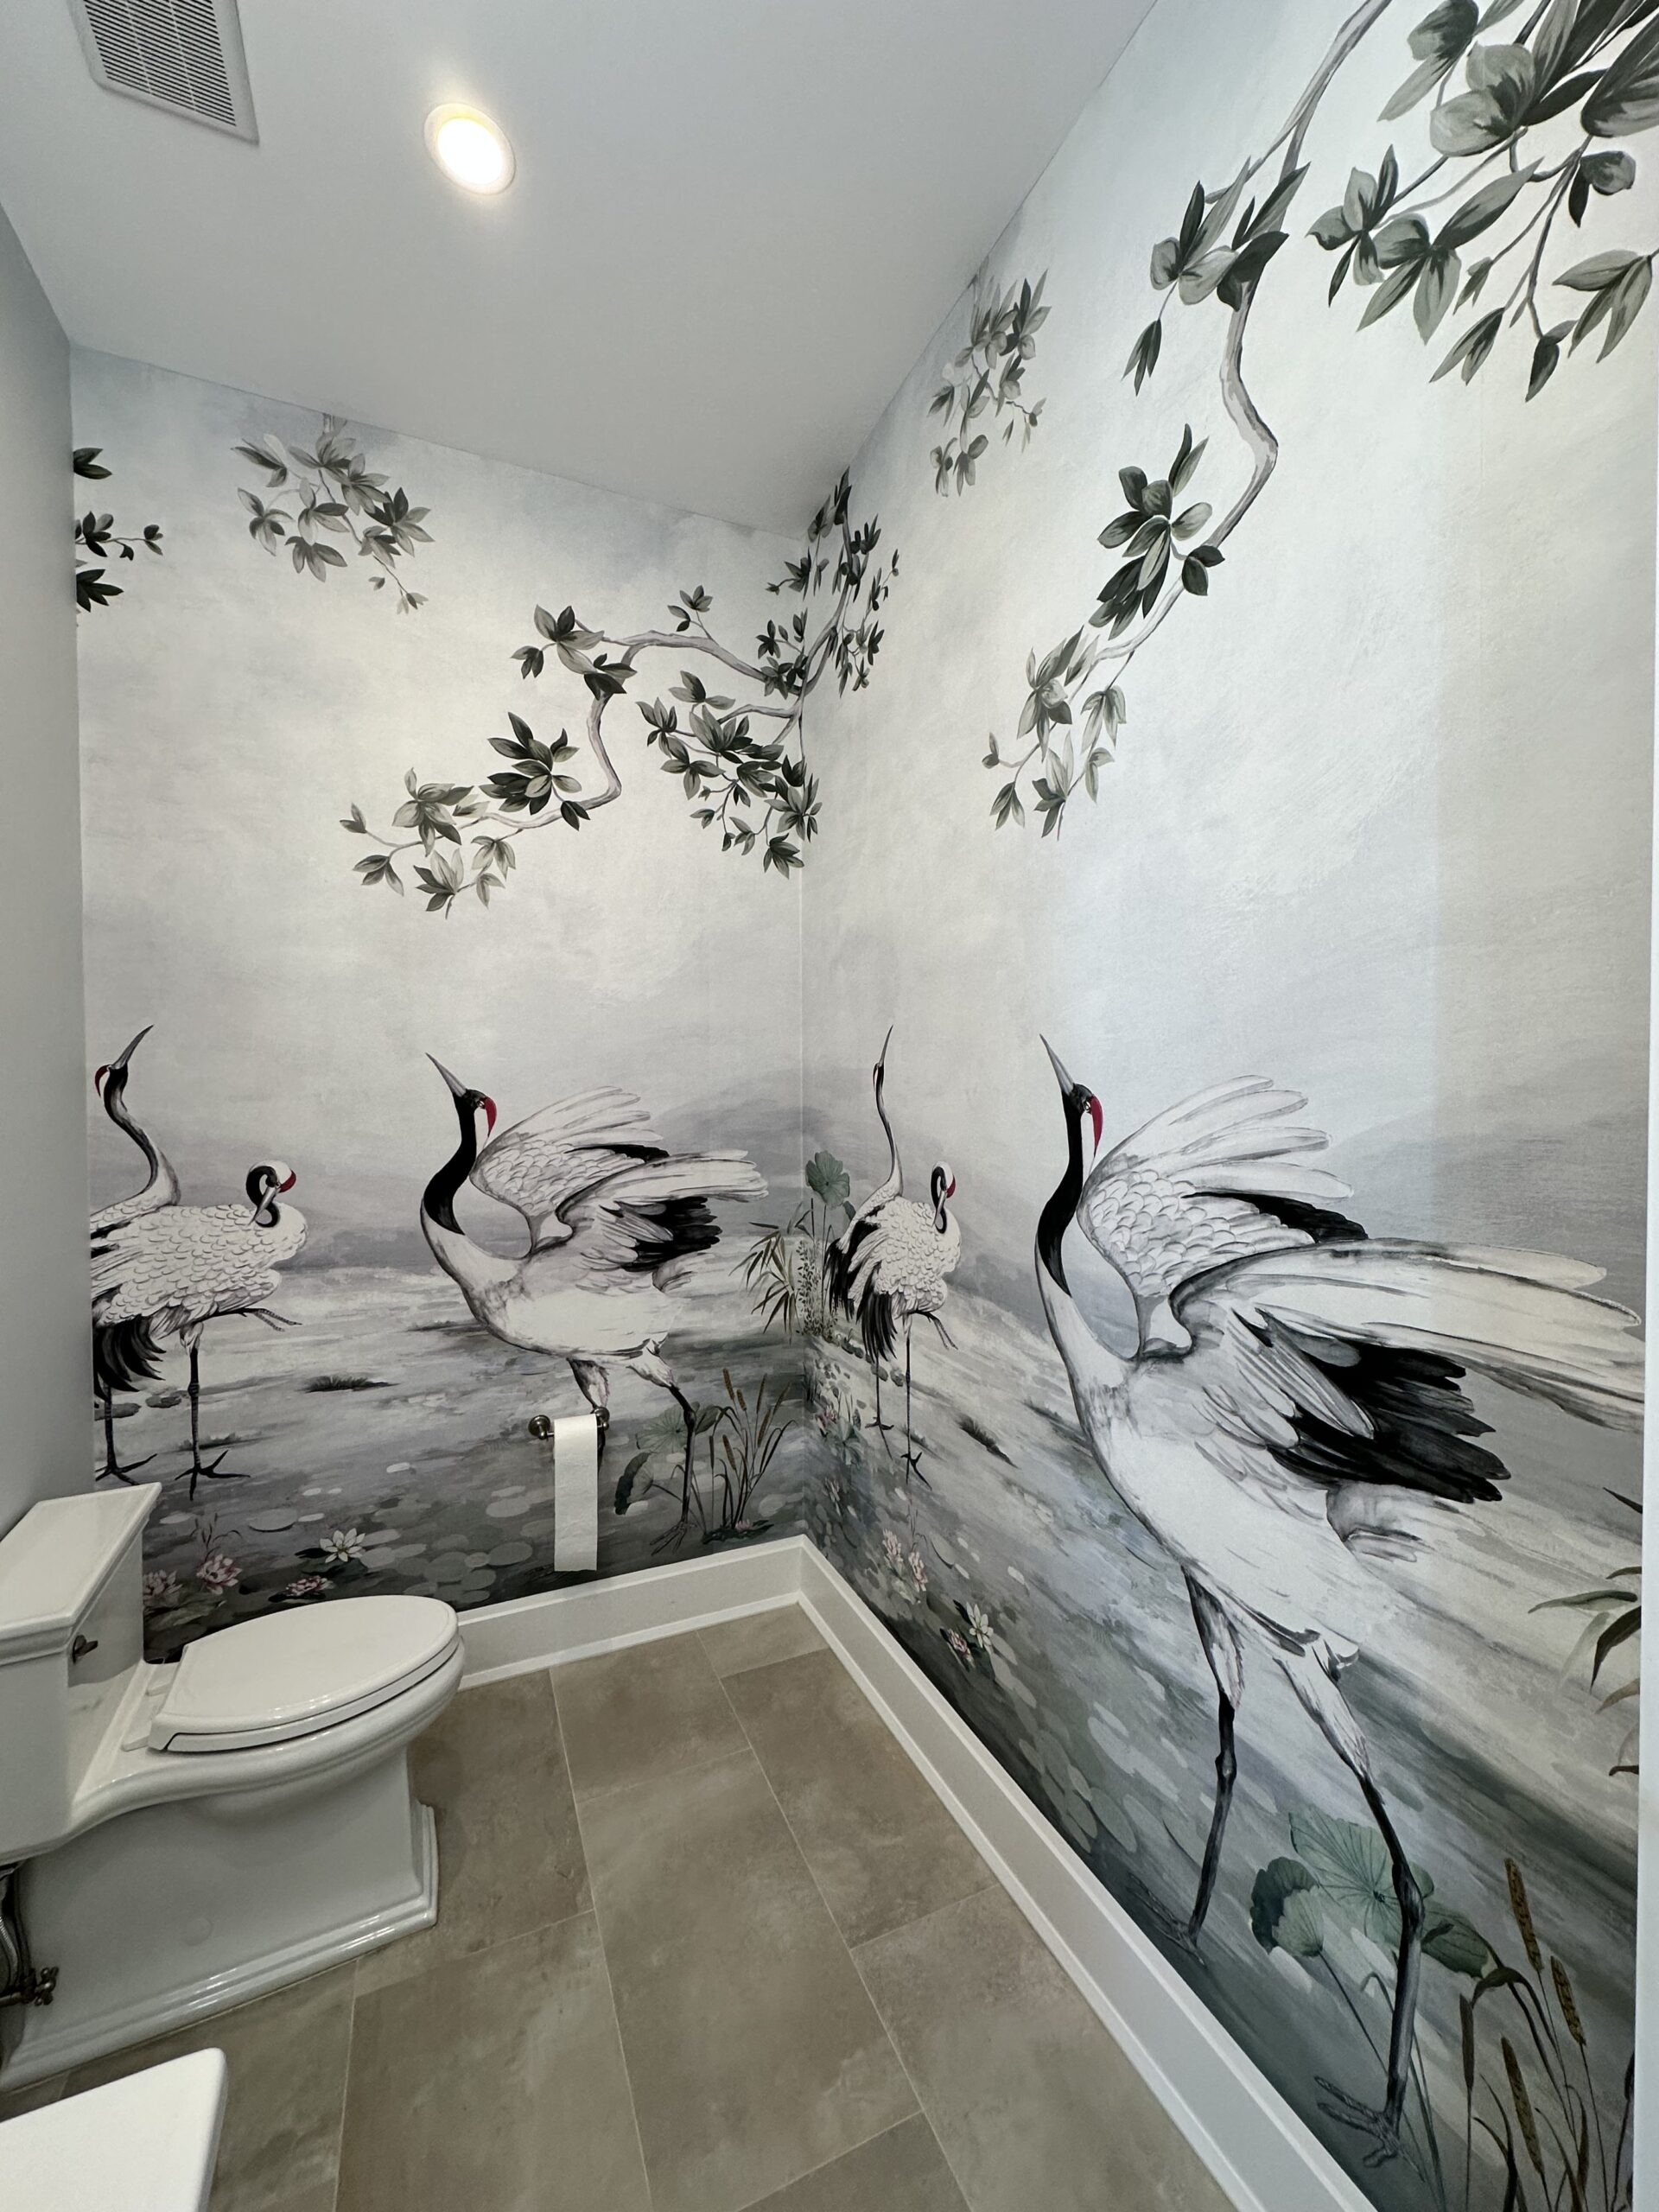
- Waterproof Wallpaper: Ideal for bathrooms and kitchens.
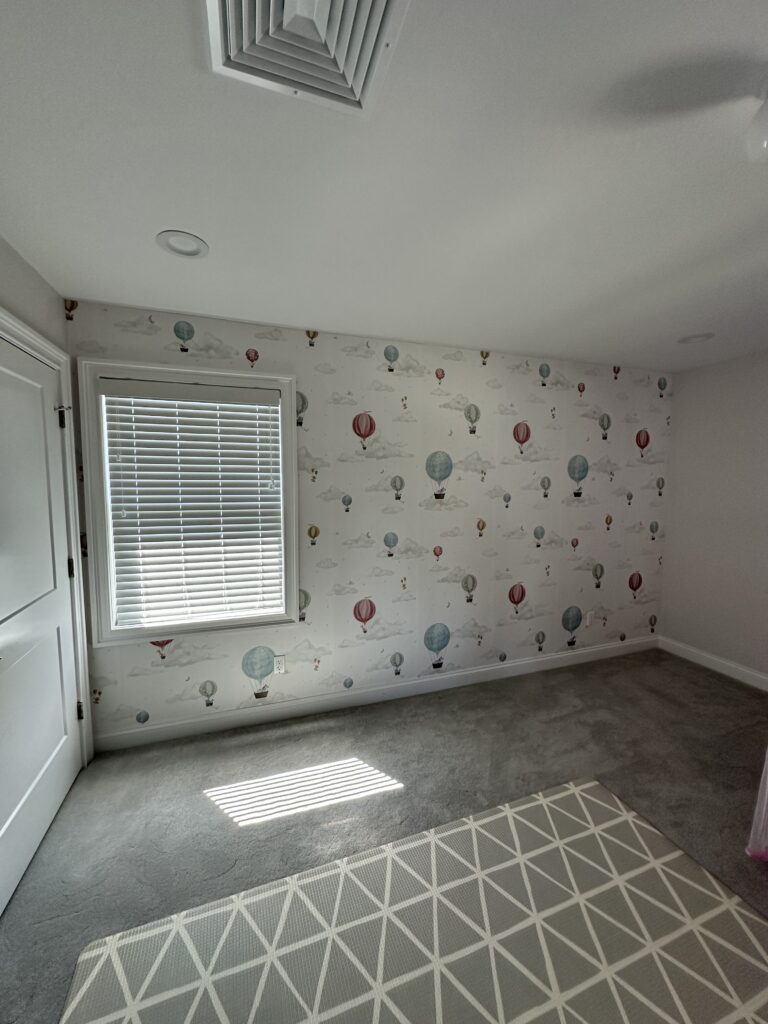
- Regular Wallpaper: Suitable for most other rooms.
- Pre-Glued Wallpaper: Offers ease of installation but may not stick as well as traditional options.
For better longevity and adhesion, traditional wallpaper is often recommended over peel-and-stick options.
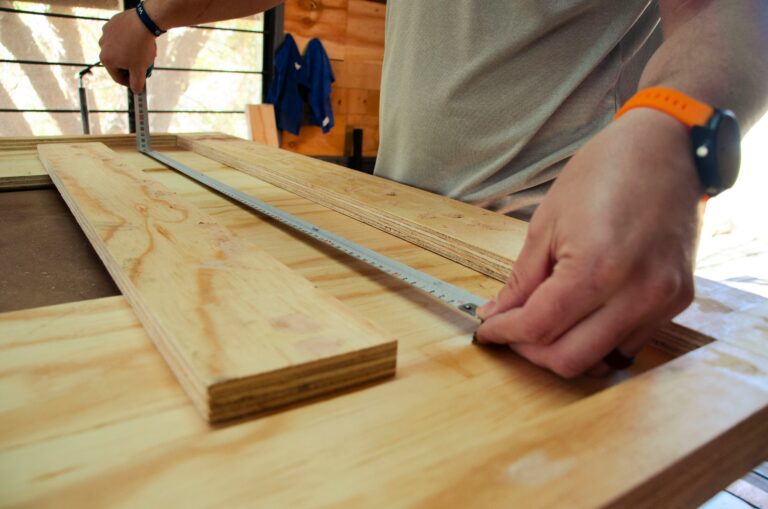
Measure the Wall
Accurate measurements are crucial, especially if your wallpaper has a complex pattern. Measure the wall’s height and width, considering the pattern’s repeat and alignment to avoid uneven or incomplete designs, and order the right amount of wallpaper rolls. To determine how many pieces of the wallpaper of the wall’s height you need, divide the wall’s width by the width of the wallpaper.
Installation Process
Here’s how to install wallpaper effectively:
For regular non-stick-and-peel option:
- Tools Needed: Paint roller, glue, a water bucket with a sponge, laser level, measuring tape, ladder, snap-off knife, wallpaper smoother, construction garbage bag, small paint shield, and piece of paper or cloth to cover the area underneath your wall.
- Installation Steps:
- Measure and cut the first piece of wallpaper, allowing extra on each end.
- Mark the wall to indicate where the glue should be applied and the vertical level so you can align the piece properly.
- Roll glue onto the wall within the marked area.
- Carefully hang the wallpaper from the top, ensuring no air bubbles are trapped.
- Smooth the wallpaper with the smoother; slightly moistening the paper can help.
- Trim the excess wallpaper at the top and bottom using the paint shield.
- Wipe off any excess glue with a damp sponge.
- Repeat for each strip of wallpaper.
For stick-and-peel option:
- Tools Needed: Water bucket with a sponge, measuring tape, ladder, snap-off knife, wallpaper smoother, construction garbage bags, small paint shield, and piece of paper or cloth to cover the area underneath your working area.
- Installation Steps:
- Measure and cut the first piece of wallpaper, allowing extra on each end.
- Mark the wall to indicate the piece should be placed at and vertical level so you can align the piece properly.
- Carefully hang the wallpaper from the top, ensuring no air bubbles are trapped and you align the piece to the marks.
- Smooth the wallpaper with the smoother; slightly moistening the paper can help.
- Trim the excess wallpaper at the top and bottom using the paint shield.
- Repeat for each strip of wallpaper.
Finishing the Project
After all the pieces are installed, inspect the wallpaper for any spots of glue or small bubbles. Use a damp sponge to clean off any residue gently. This step ensures your new wallpaper looks seamless and professionally installed.
Conclusion
Installing wallpaper is a detailed process that requires patience and precision, but the result can dramatically enhance the look and feel of any room. By following these steps, you can ensure a smooth installation and enjoy your beautifully transformed space for years to come. Whether you’re a DIY enthusiast or a first-time wallpaper user, this guide aims to provide you with the knowledge you need for a successful wallpaper project.